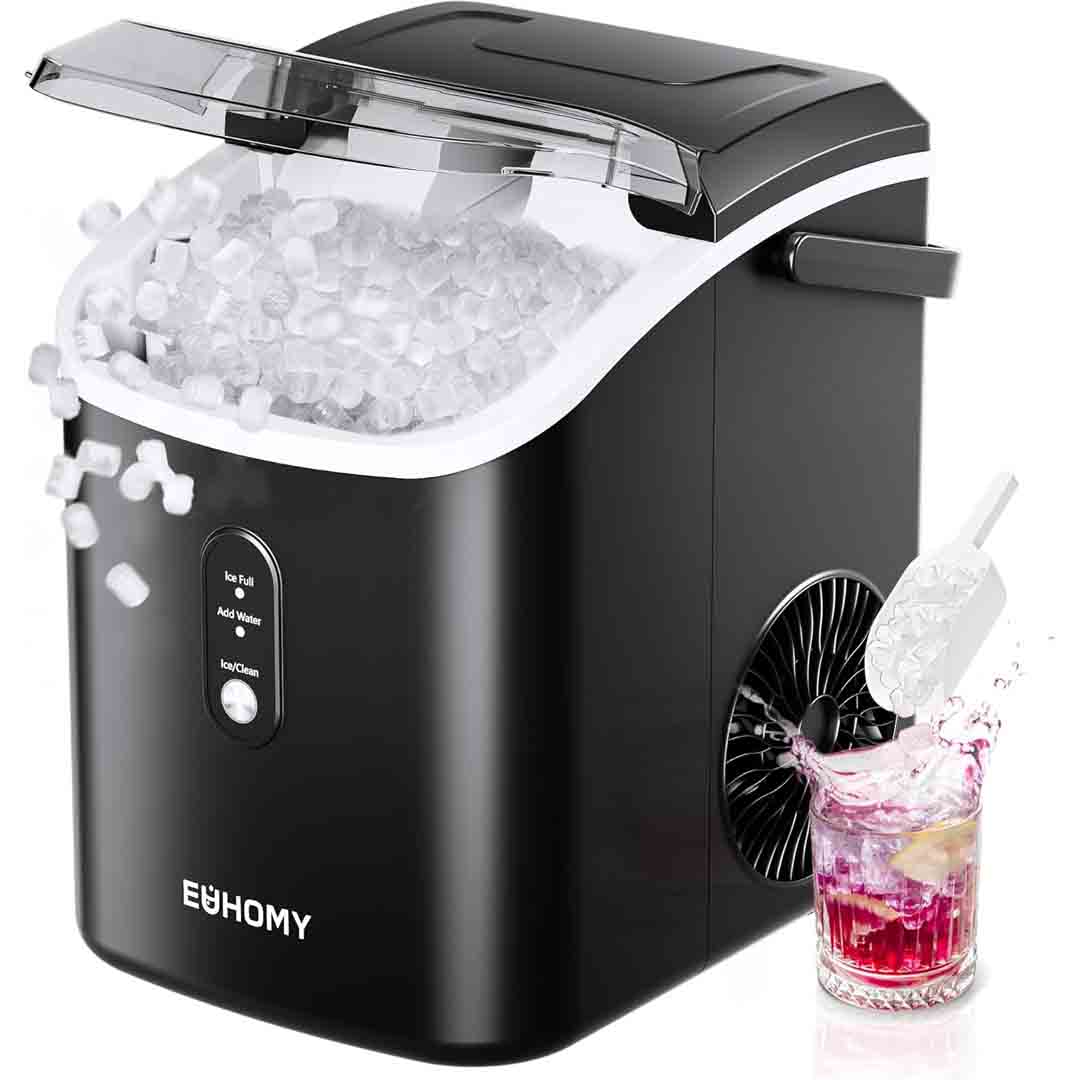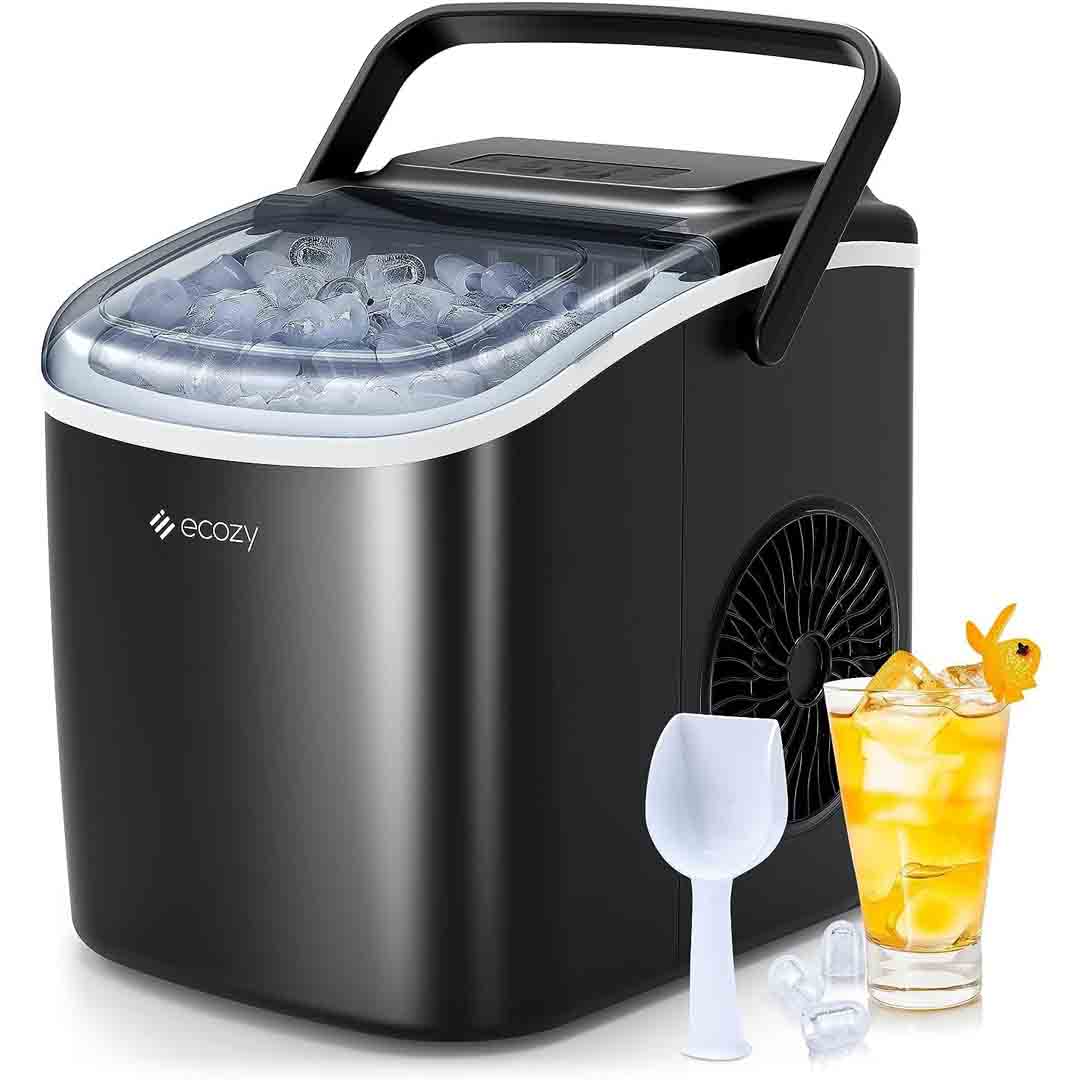
The ecozy Portable Countertop Ice Maker is a compact and effective appliance for anyone who wants ice quickly without depending on a large freezer. Built for convenience, this stylish black machine can generate 9 ice cubes in just 6 minutes, making it ideal for impromptu parties, office settings, or small kitchens. With a 26-pound daily production, it provides a consistent supply of ice for beverages, cocktails, or chilled drinks, offering both speed and capacity in a portable, space-saving design. Its modern, streamlined look sits neatly on countertops, delivering practicality without occupying too much room.
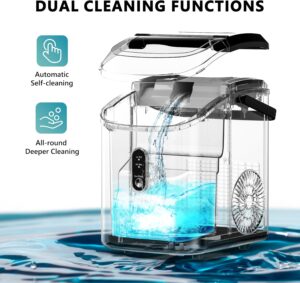
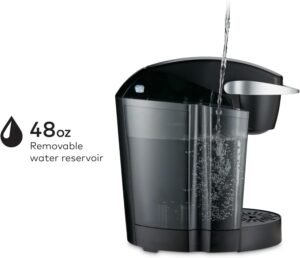
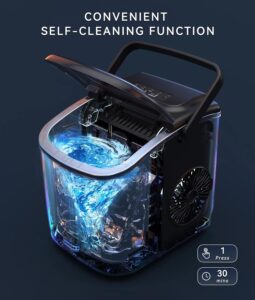
A key feature of the ecozy ice maker is its automatic self-cleaning function, which reduces upkeep and keeps the unit clean and sanitary with minimal effort. The supplied ice bags, scoop, and basket allow for easy handling, storage, and serving of ice without complications. Users can quickly move ice to coolers or beverages, making it perfect for parties, home bars, or everyday use. Its user-friendly controls and LED indicators ensure simple and intuitive operation, even for those new to countertop ice machines.
Strength and practicality are at the heart of the ecozy Portable Countertop Ice Maker. Its compact and lightweight build makes it easy to move between the kitchen, office, or outdoor events, while the rapid ice production ensures a continuous supply during gatherings. Whether entertaining friends, sharing a family meal, or providing ice for workplace beverages, this machine delivers speed, efficiency, and dependability in a sleek design. For anyone looking for an all-in-one ice solution that’s simple to operate, maintain, and transport, the ecozy ice maker is an excellent choice.

Specification
Here are the specifications for the ecozy Portable Countertop Ice Maker (Model: IM-BS260C):
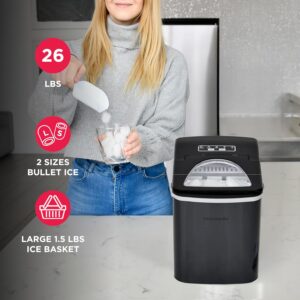
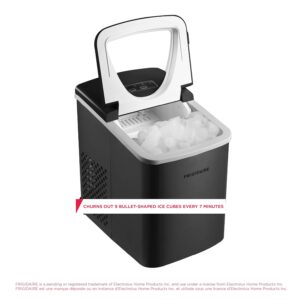
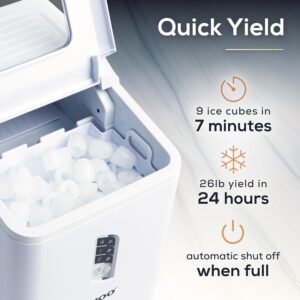
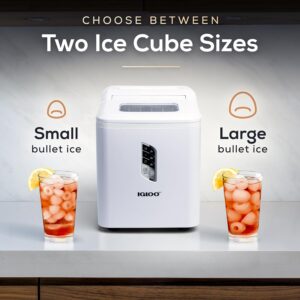
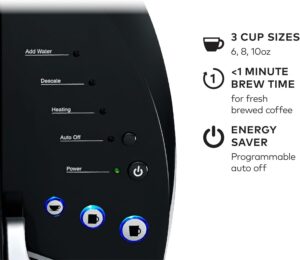
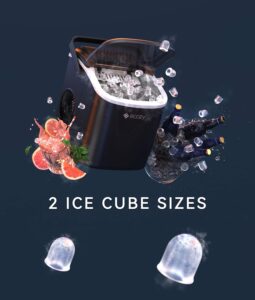
- Ice Production: Generates 9 bullet-style ice cubes every 6 minutes, delivering up to 26 pounds of ice per day.
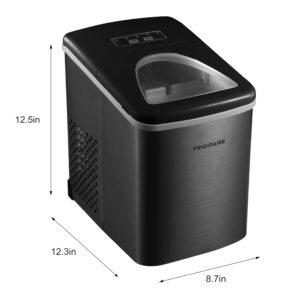
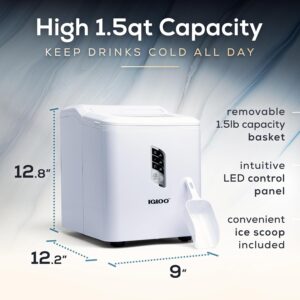
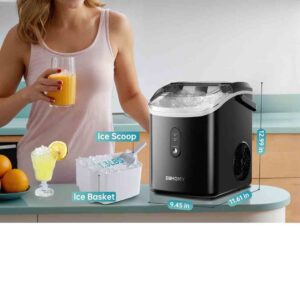
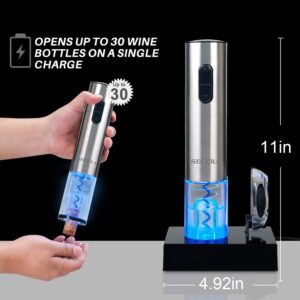
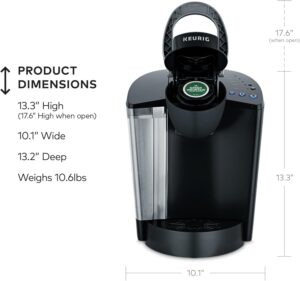
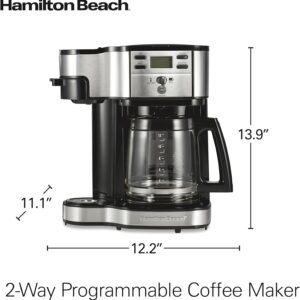
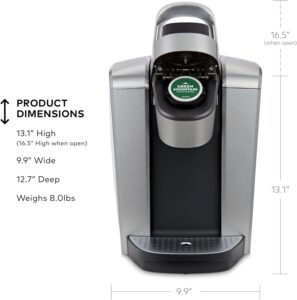
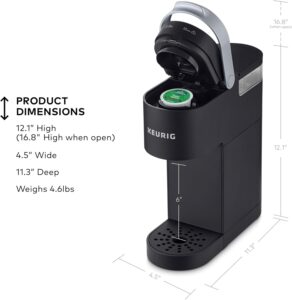
- Dimensions: With measurements of 8.74 inches (depth), 11.57 inches (width), and 11.24 inches (height), it’s compact and ideal for countertop use.
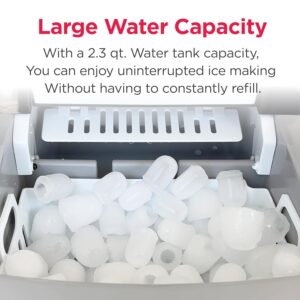
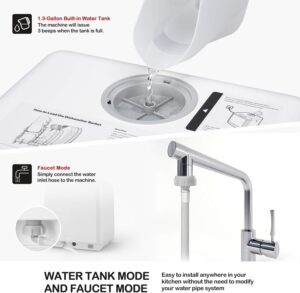
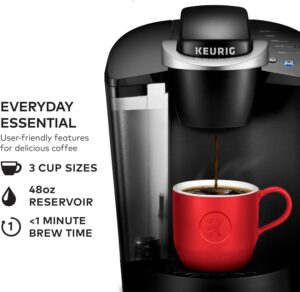
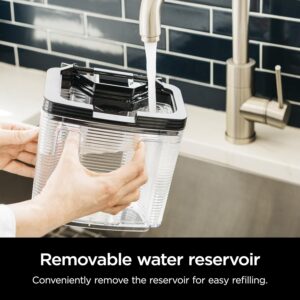
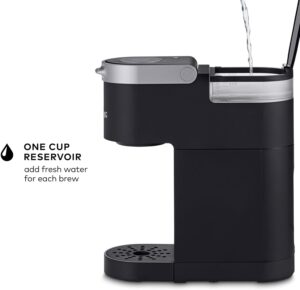
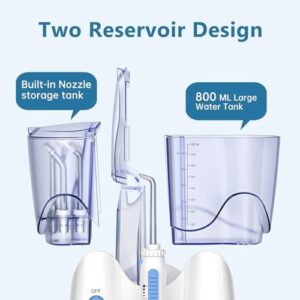
- Water Tank Capacity: Equipped with a 1.2-liter water tank for convenient refilling.
- Power Specifications: Runs on 120 watts and 115 volts, using R600a refrigerant for effective cooling.
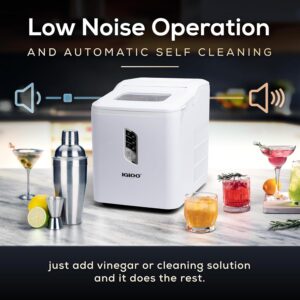
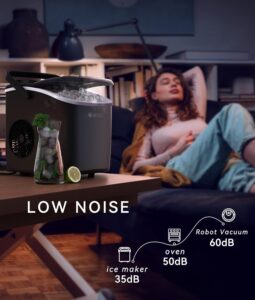
- Noise Level: Engineered for quiet operation, similar to the sound of a refrigerator, minimizing noise during use.
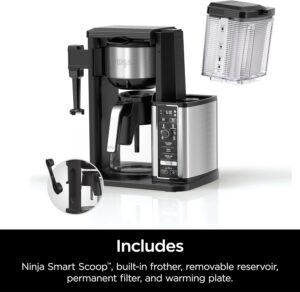
- Included Accessories: Includes ice bags, a scoop, and a basket for convenient ice handling and storage.
- Self-Cleaning Function: Equipped with an automatic cleaning function to ensure cleanliness and simplify upkeep.
- Smart Features: Certain ecozy models feature smart app and voice control through Alexa and Google Assistant, enabling remote operation.
This ice maker is perfect for use in kitchens, offices, bars, and during parties, offers a convenient and efficient way to produce ice.
Key features
Here are the key features of the ecozy Portable Countertop Ice Maker (Model IM-BS260C):
Rapid Ice Production
- Fast Ice Making: Generates 9 bullet-style ice cubes every 6 minutes, providing a fast and steady supply of ice.
- High Daily Output: Able to generate up to 26.5 pounds of ice within 24 hours, ideal for a variety of environments.
Self-Cleaning Functionality
- Easy Maintenance: Includes a self-cleaning feature that makes maintenance easy, keeping the unit clean and sanitary.
Included Accessories
- Comprehensive Package: Includes ice bags, a scoop, and a basket, offering all you need for convenient ice handling and storage.
Compact and Portable Design
- Space-Saving: Measuring 8.74 × 11.57 × 11.42 inches, it sits neatly on countertops without taking up much room.
- Portable: Its lightweight construction makes it simple to move, perfect for kitchens, offices, bars, and social gatherings.
How to use the ecozy Portable Countertop Ice Maker
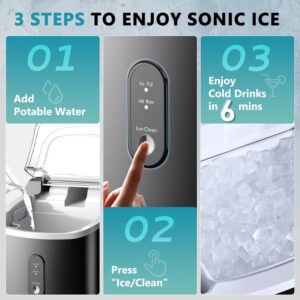
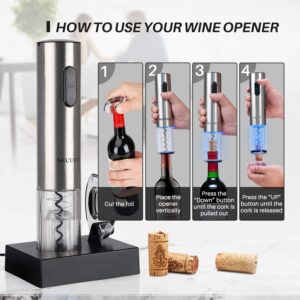
Here’s a clear step-by-step guide on how to use the ecozy Portable Countertop Ice Maker:
1. Setup
- Set the ice maker on a level, sturdy surface, keeping it away from direct sunlight and heat..
- Connect the machine into a standard 115V power outlet.
2. Add Water
- Lift the top lid and pour clean, cold water into the water tank.
- Ensure you do not surpass the 1.2-liter maximum level to prevent spills or leaks.
3. Start Ice Production
- Close the lid and click the power button.
- Choose your preferred ice cube size (if available), and the machine will produce 9 bullet-style ice cubes in roughly 6 minutes.
4. Collect Ice
- When the ice is finished, the machine will shut off on its own.
- Use the included ice scoop and basket to collect ice, and optionally place it in the ice bags for storage.
5. Self-Cleaning
- For regular upkeep, activate the self-cleaning cycle every few days or as necessary.
- Just follow the manual instructions, typically by adding water and pressing the clean button.
6. Turn Off
- Once finished, switch off the machine and unplug it if it won’t be used for a while.
- Use a soft, damp cloth to clean both the inside and outside of the unit.
Tips suitable for the ecozy Portable Countertop Ice Maker
Here are some practical tips to get the best performance and longevity from your ecozy Portable Countertop Ice Maker:
1. Use Clean, Cold Water
- For ice that’s clearer and tastes better, use filtered or purified water.
- Do not use hard or mineral-rich water, as it may lead to scale buildup and lower performance.
2. Do Not Overfill
- Never exceed the 1.2-liter water tank capacity, as overfilling can cause leaks or slow ice production.
3. Allow Rest Between Cycles
- Although the machine works quickly, it’s recommended to give it breaks when making large quantities of ice to protect the compressor and maintain consistent performance.
4. Keep It Clean
- Run the self-cleaning feature frequently to avoid buildup and keep the unit sanitary.
- Clean the outside using a damp cloth, steering clear of strong chemicals or abrasive materials.
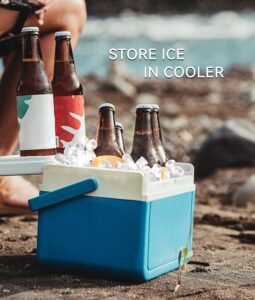
5. Store Ice Properly
- Store ice in the freezer using the provided ice bags or basket if not used right away, preventing melting and refreezing that can alter texture.
6. Optimal Placement
- Place the ice maker on a level, sturdy surface, away from sunlight, heat, or heat-producing appliances to maintain optimal ice production.
7. Quiet Operation
- Although the machine operates quietly, keep it away from light sleepers or areas sensitive to vibration during heavy use.
Cleaning guide
Here’s a clear guide on how to clean the ecozy Portable Countertop Ice Maker safely and effectively:
1. Turn Off and Unplug
- Turn off and unplug the machine before cleaning to ensure safety.
2. Empty Remaining Ice and Water
- Take out all ice cubes from the basket and empty any leftover water from the tank.
3. Use Mild Cleaning Solution
- Mix warm water with mild dish soap, or use a 1:1 solution of water and vinegar to descale.
- Do not use bleach, ammonia, or abrasive cleaners, as they can harm the machine and alter the ice flavor.
4. Clean the Interior
- Clean the inside of the water tank and ice tray with a soft sponge or cloth.
- Focus on corners and edges where buildup may occur.
5. Rinse Thoroughly
- Once cleaned, rinse the tank and ice tray several times with fresh water to remove soap or vinegar residues.
6. Run Self-Cleaning Function
- Pour clean water into the tank and run the self-cleaning cycle as instructed in the manual.
- This removes any leftover impurities from the system.
7. Clean Accessories
- Clean the supplied ice scoop, basket, and ice bags using warm, soapy water, then rinse and dry completely.
8. Dry and Reassemble
- Dry the inside and outside surfaces with a clean cloth.
- Place the basket and ice scoop back into the machine, making it ready for use again.
What to avoid when using the ecozy Portable Countertop Ice Maker
Here’s a list of things to avoid when using the ecozy Portable Countertop Ice Maker to ensure safety, efficiency, and longevity:
1. Overfilling the Water Tank
- Do not go beyond the 1.2-liter maximum; overfilling may lead to leaks, overflow, or reduced ice output.
2. Using Hard or Contaminated Water
- Do not use hard, mineral-rich, or contaminated water, as it may lead to scaling, affect ice flavor, and lower efficiency.
3. Placing on Uneven or Hot Surfaces
- Avoid placing the unit on uneven surfaces or close to heat sources (such as ovens, stoves, or direct sunlight), as this can affect ice production and strain the compressor.
4. Continuous Operation Without Breaks
- Do not operate the ice maker continuously for extended periods; allow breaks between large batches to safeguard the compressor and prolong its life.
5. Using Harsh Chemicals
- Do not use bleach, ammonia, or harsh abrasives inside the unit, as they can harm internal parts and affect ice quality.
6. Using Metal Objects Inside
- Do not use metal tools or sharp objects in the ice tray or water tank, as they may scratch or damage the interior.
7. Ignoring Cleaning
- Always perform regular cleaning and self-cleaning cycles to prevent residue buildup, which can impact ice quality and machine efficiency.
8. Storing While Wet
- Do not store the ice maker with water inside; always drain and dry it during extended periods of non-use to prevent mold and odors.
In conclusion, the ecozy Portable Countertop Ice Maker is a fast, reliable, and convenient solution for fresh ice at home, in the office, or at parties. Its compact design, quick ice production, and easy maintenance make it practical and user-friendly, ensuring clear, ready-to-use ice whenever you need it.