When was the last time you walked into a room and felt instantly at ease? That moment when everything just felt right? More often than not, lighting played a bigger role in that feeling than you realized.
We’ve spent decades treating lighting as an afterthought, a purely functional necessity. You flip a switch, the room lights up, and that’s it. But here’s what’s changing: smart lighting systems like Philips Hue are proving that how we illuminate our spaces can completely transform how we live in them. We’re talking about lighting that adapts to your mood, enhances your activities, and even supports your health. The difference between walking into a harshly lit room versus one bathed in the perfect warm glow isn’t subtle. It’s the difference between a house and a home.

The Revolution of Smart Lighting Technology
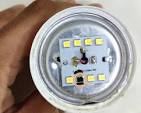
Smart lighting represents one of the most accessible entry points into home automation. Unlike complex smart home systems that require extensive installation, smart bulbs can replace your existing lights in minutes. But the simplicity of installation belies the sophisticated technology inside.
Philips Hue, the pioneer in consumer smart lighting, has built an ecosystem that goes far beyond basic illumination. Their system uses Zigbee wireless technology to create a mesh network throughout your home, allowing bulbs to communicate with each other and respond to commands from your smartphone, voice assistants, or automated routines.
What makes this technology truly special is its versatility. A single Philips Hue bulb can produce over 16 million colors and countless shades of white light, from cool, energizing daylight to warm, relaxing candlelight. This isn’t just about aesthetics. Research shows that different light temperatures and colors directly affect our circadian rhythms, mood, and productivity.

Understanding the Philips Hue Ecosystem
The Philips Hue family offers several product lines designed for different needs and budgets. Getting familiar with these options helps you build a system that truly fits your lifestyle.
Starter Kits and Bundles
The Philips Hue Starter Kit typically includes the Hue Bridge (the central hub that controls your lights) and several bulbs. This bridge is crucial because it connects to your home router and enables advanced features like scheduling, routines, and integration with other smart home platforms. While some newer Hue bulbs can work via Bluetooth without a bridge, having one unlocks the system’s full potential.
Most users find that starting with a living room or bedroom kit makes sense. You’ll get immediate, noticeable benefits in the spaces where you spend the most time.
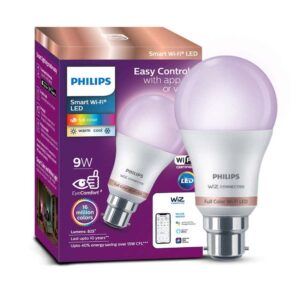
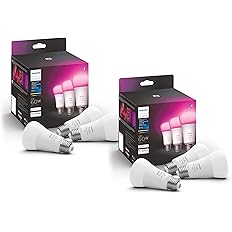
Color vs. White Ambiance
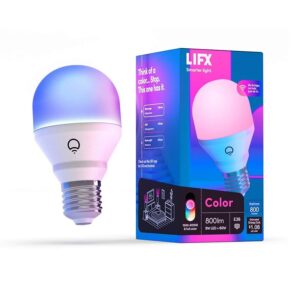
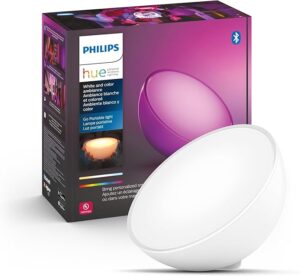
Philips offers different bulb types at various price points. The full-color bulbs provide access to the complete spectrum of millions of colors, perfect for creating dynamic scenes or matching your lighting to specific moods and occasions. The White Ambiance bulbs, while less expensive, still offer tremendous value by providing a range of white tones from cool to warm, which is often all you need for most practical applications.
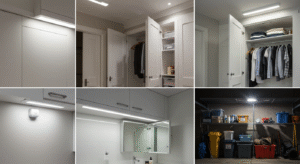
Many homeowners adopt a hybrid approach: using color bulbs in main living areas where ambiance matters most, and white ambiance bulbs in hallways, closets, or other functional spaces.
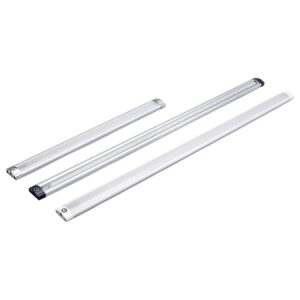
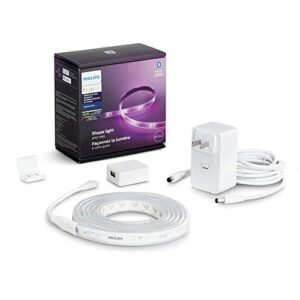
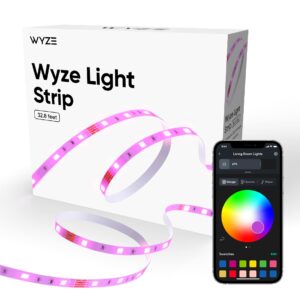
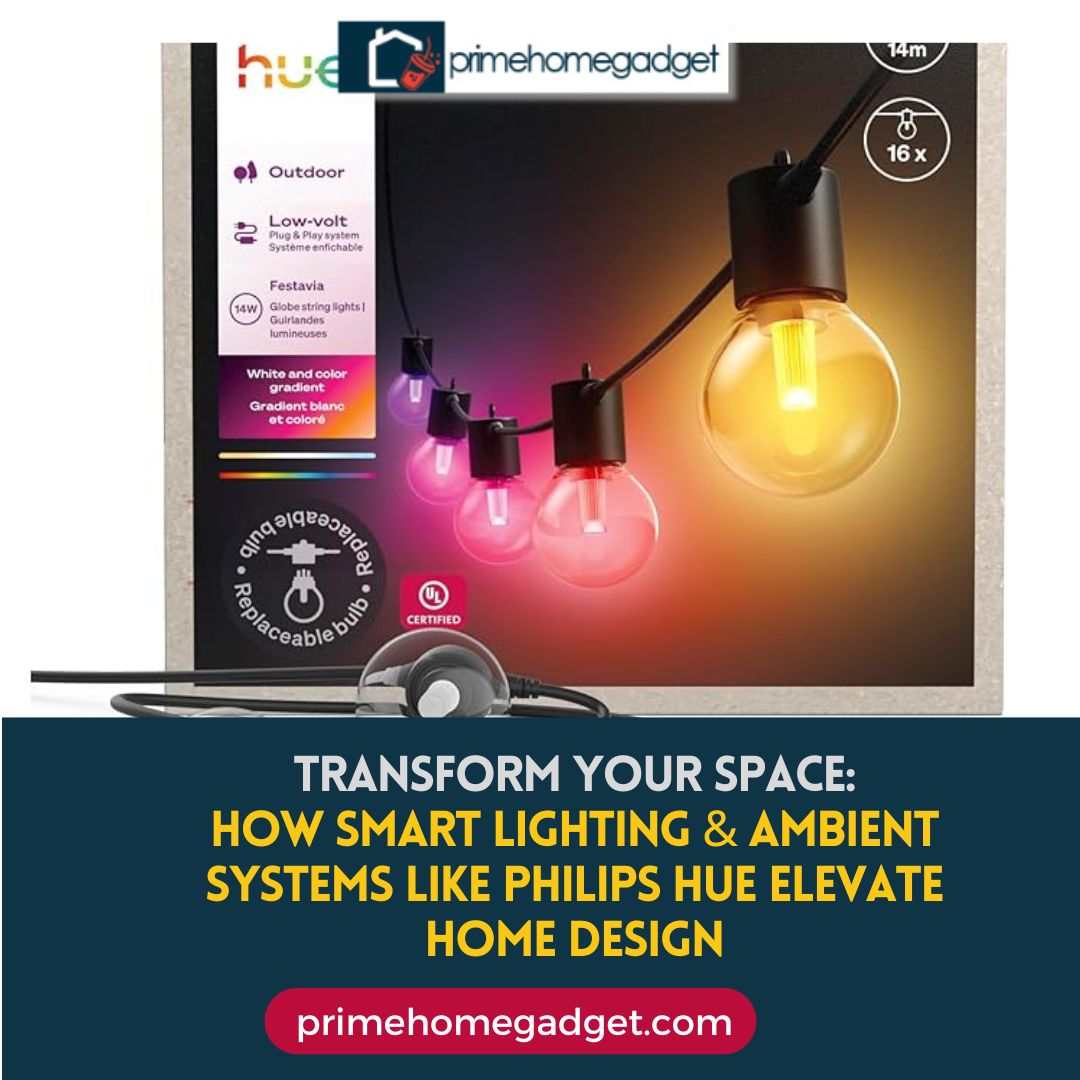
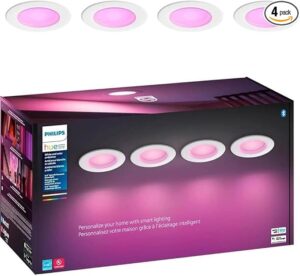
Light Strips and Accent Lighting
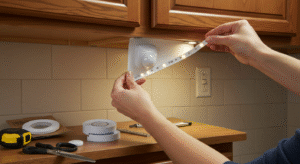
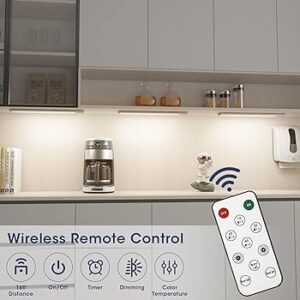
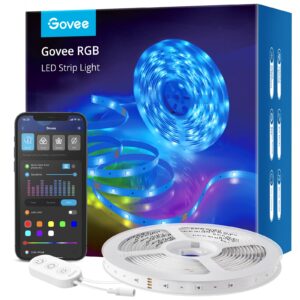
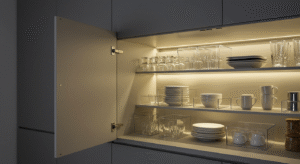
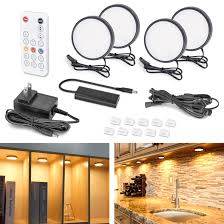
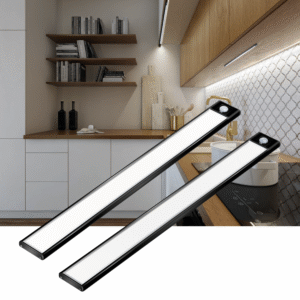
Beyond bulbs, Philips Hue’s light strips have become incredibly popular for accent lighting. These flexible LED strips can mount behind TVs, under cabinets, along staircases, or anywhere you want to add a wash of color or indirect lighting. The sync capability with entertainment systems creates an immersive experience that extends your screen’s colors into the room.
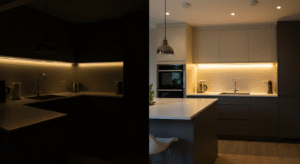
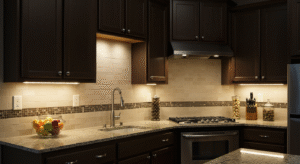
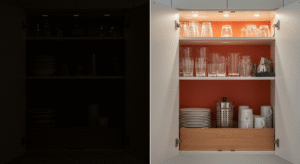
Users consistently praise the light strips for transforming ordinary spaces into something special. One homeowner shared how installing strips under kitchen cabinets not only improved task lighting but created a warm, inviting atmosphere that made the kitchen feel like a completely different room.
Creating Mood and Atmosphere in Every Room
The real magic of smart lighting reveals itself when you start thinking about rooms as experiences rather than just spaces. Each area of your home serves different purposes throughout the day, and your lighting should adapt accordingly.
Living Spaces That Breathe
Your living room might need bright, cool light for reading in the afternoon, warm ambient light for evening conversations, and dim, colorful accents for movie nights. With Philips Hue, you can create scenes for each scenario and switch between them instantly.
The “recipes” or preset scenes that come with the Hue app provide excellent starting points. Options like “Energize” deliver bright, cool light that helps you feel alert, while “Relax” offers warm tones that help you unwind. You can customize these further or create your own from scratch.
Bedrooms Designed for Better Sleep
Perhaps nowhere is smart lighting more impactful than the bedroom. The ability to gradually dim lights in the evening supports your body’s natural preparation for sleep. Even better, Philips Hue’s wake-up routines can simulate a sunrise, gradually brightening your room over 30 minutes before your alarm goes off.
Sleep experts have long recommended against harsh alarm clocks and bright overhead lights first thing in the morning. The gentle, natural wake-up experience that smart lighting provides can genuinely improve how you start each day. Users report feeling more refreshed and less groggy compared to traditional alarms.
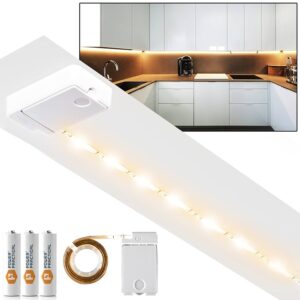
Kitchens and Workspaces
Task-oriented spaces benefit from smart lighting too. In kitchens, you might want bright, neutral light for food preparation but warmer, dimmer light during meals. Home offices can use cooler, brighter light during work hours to maintain alertness, then shift to warmer tones as the workday ends.
The Luxury Factor: Small Investment, Big Impact
Smart lighting delivers a surprisingly luxurious feel without requiring a luxury budget. While a complete home setup represents an investment, the perceived value far exceeds the cost. Visitors often assume smart lighting systems are more expensive than they actually are because the experience feels premium.
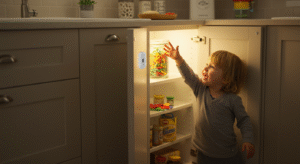
The convenience factor can’t be overstated. Once you’ve experienced controlling all your lights from bed via voice command or smartphone, returning to manual switches feels oddly primitive. The ability to check if you left lights on when you’re away, or turn on lights before arriving home, provides both convenience and security.
Integration with other smart home devices amplifies the luxury feel. Imagine your lights automatically dimming when you start streaming a movie, or your entryway lights turning on when your smart lock detects you arriving home. These small automations accumulate into an experience that feels thoughtfully designed around your life.
Energy Efficiency and Long-Term Value
Beyond ambiance and convenience, smart LED lighting delivers real energy savings. Philips Hue bulbs use approximately 80% less energy than traditional incandescent bulbs. While LED bulbs already offer efficiency gains, smart features enhance savings further through scheduling, automation, and the simple fact that lights are less likely to be left on unnecessarily.
The lifespan of Philips Hue bulbs typically ranges from 15,000 to 25,000 hours, depending on the model. This translates to 15-20 years of average use. When you factor in energy savings and the elimination of frequent bulb replacements, the math becomes compelling even from a purely practical standpoint.
Getting Started: Practical Tips for Implementation
If you’re ready to transform your space with smart lighting, here’s how to approach it strategically:
Start with one room to learn the system and discover what works for your lifestyle. The living room or master bedroom typically provides the best return on investment in terms of daily use and impact.
Plan your scenes before you start randomly changing colors. Think about your daily routines and what lighting would enhance each activity. This intentional approach yields better results than simply playing with colors.
Don’t overlook the importance of smart switches and dimmers. While controlling lights from your phone is convenient, physical controls remain important, especially for guests or family members less comfortable with apps. Philips offers switches and dimmers that integrate seamlessly with their ecosystem.
Consider your existing decor and choose bulb placements that maximize impact. Not every fixture needs a smart bulb. Focus on key lights that will benefit most from color and dimming capabilities.
The Future Glowing Bright
Smart lighting technology continues to evolve rapidly. Recent additions to the Philips Hue lineup include improved sync capabilities, matter protocol support for better cross-platform compatibility, and even more energy-efficient bulbs. The trend toward personalization and health-focused lighting (like circadian rhythm support) will likely accelerate.
What started as a novel gadget has matured into an essential element of modern home design. Smart lighting systems like Philips Hue prove that technology can enhance our living spaces without complicating them. The transformation happens gradually, but once you’ve experienced truly responsive, mood-enhancing lighting, your space will never feel quite the same.
Whether you’re drawn to the practical benefits of energy efficiency and convenience, the aesthetic possibilities of color and ambiance, or simply the joy of living in a space that adapts to your needs, smart lighting offers a tangible upgrade to daily life. Your home is your sanctuary. Doesn’t it deserve lighting that treats it that way?