Your phone dies mid-flight. Your laptop charger doesn’t fit the hotel outlet. Your earbuds run out of battery during a critical conference call. If you travel frequently, you’ve lived through at least one of these nightmares. The truth is, modern travel runs on technology, and when your tech fails, everything falls apart.
Here’s what most travelers don’t realize until it’s too late: your smartphone, tablet, and laptop are only as good as the accessories supporting them. I’ve watched business deals stall because someone couldn’t charge their device. I’ve seen vacation photos lost because travelers didn’t have proper storage solutions. After years of navigating airports, hotels, and unfamiliar cities across different time zones, one thing has become crystal clear: the right mobile accessories aren’t just nice to have. They’re the difference between smooth travel and constant frustration.
The landscape of travel technology continues to evolve rapidly. The accessories available now solve real problems that seemed impossible to fix just a few years ago. Let’s explore the gear that’s actually worth buying if you don’t already have it.
Let’s dive into the mobile accessories that’ll transform how you travel this year.

Why Mobile Accessories Matter More Than Ever for Travelers
Before we get into the specific products, let’s talk about why investing in quality mobile accessories for frequent travelers has become non-negotiable. Your smartphone is your camera, boarding pass, translator, map, entertainment center, and communication lifeline all rolled into one device. When it fails, everything becomes exponentially harder.
The modern traveler juggles multiple devices: smartphones, tablets, noise-canceling earbuds, and sometimes laptops. Managing all this tech while navigating unfamiliar airports, dealing with different power outlets, and maintaining connectivity across borders requires smart planning and the right gear.
Power Solutions That Keep You Connected

1. Universal Travel Adapters with USB-C Power Delivery
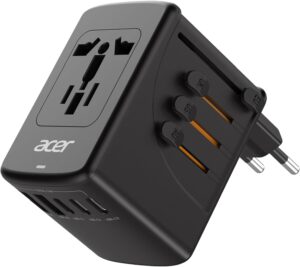
Gone are the days of carrying five different adapters for different countries. The latest universal travel adapters in 2026 come equipped with multiple USB-C ports supporting Power Delivery 3.1, traditional USB-A ports, and compatibility with outlets from over 200 countries.
What makes these adapters game-changing? They’re compact (about the size of a deck of cards), feature built-in surge protection, and can charge up to four devices simultaneously. Travelers rave about models that include a replaceable fuse and safety shutters, giving you peace of mind whether you’re in Tokyo, London, or São Paulo.
Look for adapters with at least 65W output if you plan to charge laptops alongside your phone. The investment (typically $35-$60) pays for itself the first time you avoid buying emergency adapters at airport kiosks.

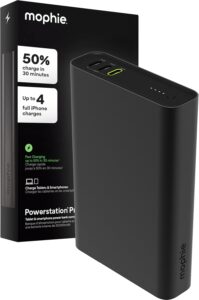
2. High-Capacity Power Banks with Fast Charging
Your power bank is your insurance policy against dead batteries. In 2026, the sweet spot for travelers is a 20,000mAh capacity power bank with 100W Power Delivery support. This gives you approximately four full charges for most smartphones and can even juice up a laptop in a pinch.
Here’s what frequent travelers should prioritize:
- TSA compliance: Ensure it’s under 100Wh (watt-hours) to bring it on planes
- Multiple ports: At least two USB-C and one USB-A port
- Pass-through charging: Charge the power bank while it charges your devices
- LED display: Shows exact remaining battery percentage, not just vague indicator lights
Real users consistently praise power banks with aluminum casings for durability and heat dissipation. Yes, they cost more ($80-$120 for quality options), but they’ll survive the abuse of constant travel far better than plastic alternatives.
Wireless Connectivity Essentials
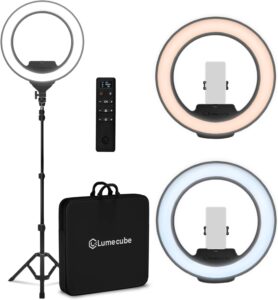
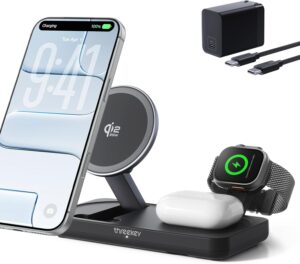
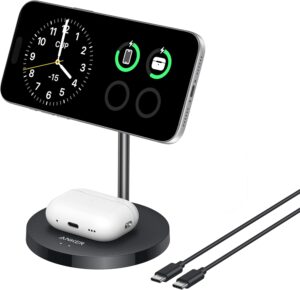
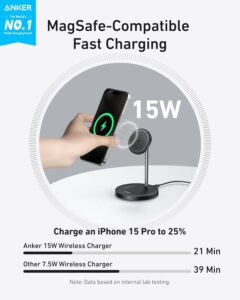
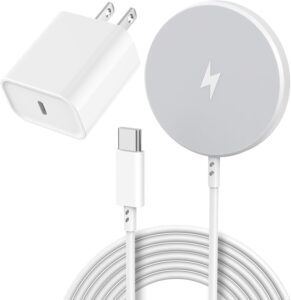
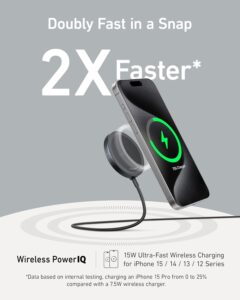
3. Compact Wireless Chargers
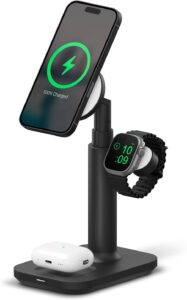
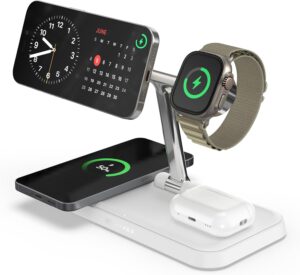
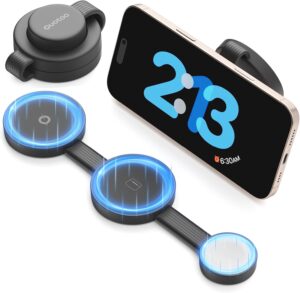
Wireless charging has matured beautifully. The best travel-friendly wireless chargers in 2026 are foldable, support Qi2 standard (the magnetic successor to MagSafe), and can charge your phone, earbuds, and smartwatch simultaneously.
The trifold designs that collapse flat are perfect for travelers. They take up minimal space in your carry-on and eliminate the need for multiple charging cables. Some models even double as phone stands, making them ideal for watching movies during long flights or video calls from hotel rooms.
Pro tip: Choose chargers with international voltage compatibility (100-240V) so they work anywhere without additional adapters.
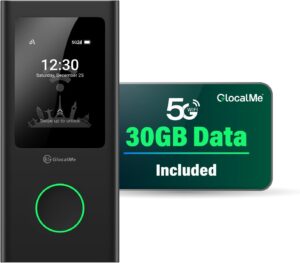
4. Portable Wi-Fi Hotspots
Hotel Wi-Fi can be sketchy at best and completely unreliable at worst. International data roaming? Expensive. This is where portable Wi-Fi hotspots shine. Modern devices support 5G connectivity in multiple countries with a single eSIM, eliminating the need to swap physical SIM cards.
Travelers appreciate hotspots that support 10-15 connected devices, making them perfect for families or digital nomads who need to keep multiple gadgets online. Battery life has improved dramatically, with many models lasting 12-15 hours of continuous use.
The subscription flexibility matters too. Look for services offering pay-as-you-go options rather than forcing you into monthly contracts you won’t fully use.

Audio and Communication Gear
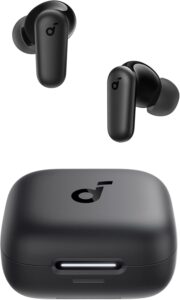
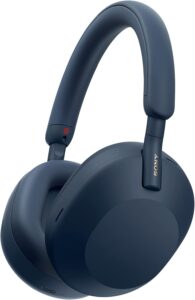
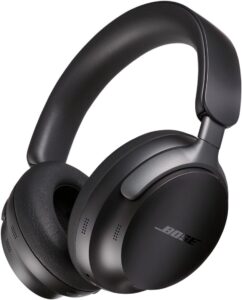
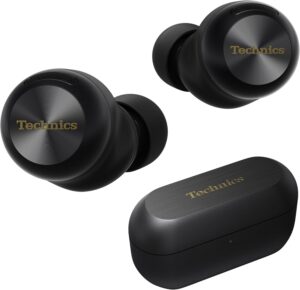
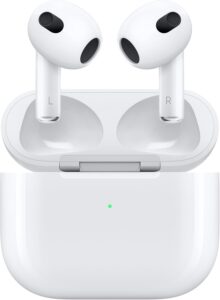
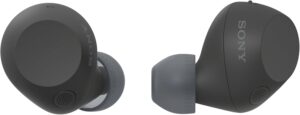
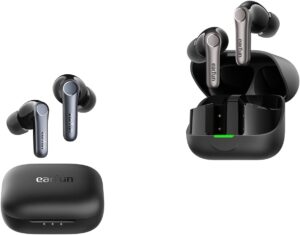
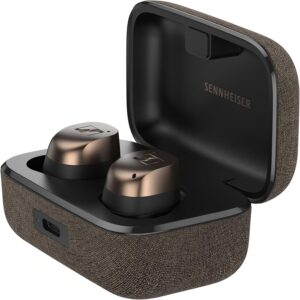
5. Active Noise-Canceling Earbuds
Let’s be honest: airplane cabins are loud. Crying babies, chatty passengers, engine rumble… it all adds up. Quality noise-canceling earbuds aren’t a luxury for frequent travelers. They’re a sanity saver.
The 2026 models feature adaptive noise cancellation that adjusts based on your environment, transparency modes for when you need to hear announcements, and multipoint Bluetooth connectivity (connect to your phone and laptop simultaneously).
Battery life has reached impressive levels, with 8-10 hours per charge and an additional 30+ hours from the charging case. Travelers particularly value models with quick-charge features: 10 minutes of charging for 2-3 hours of playback when you’re rushing between gates.
Water resistance (IPX4 or higher) protects against sweat during layover workouts or unexpected rain when exploring new cities.
Cable Management and Organization
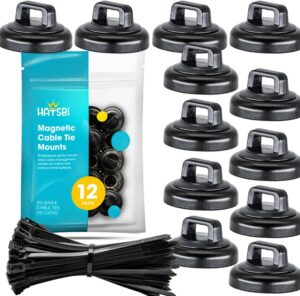
Magnetic Cable Organizers
Tangled cables are more than annoying. They waste precious time and can damage your expensive charging cords. Magnetic cable organizers have revolutionized how travelers pack their tech.
These small accessories (often silicone or leather wraps with embedded magnets) keep cables neatly coiled and prevent the dreaded “cable spaghetti” situation in your bag. Some designs incorporate cable identification tags, so you’re not guessing which black cable goes to which device.
The best systems include modular pouches where you can organize adapters, memory cards, and small accessories alongside your cables. Think of it as a mini command center for your tech that fits in your palm.
![]()
Smart Tracking Accessories
Bluetooth Trackers for Luggage and Gear
Losing expensive tech accessories while traveling is heartbreaking. Bluetooth trackers like those using Apple’s Find My network or similar technologies have become essential for peace of mind.
Attach them to camera bags, attach them inside laptop sleeves, or toss them in checked luggage. The 2026 versions feature improved battery life (up to 18 months), louder speakers for finding items in hotel rooms, and precision finding that guides you directly to lost items using augmented reality.
The crowdsourced location networks mean even if your bag ends up across the world, you’ll get its location as long as someone with a compatible device passes nearby. It’s like having a global search party for your stuff.

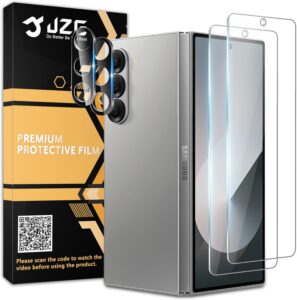
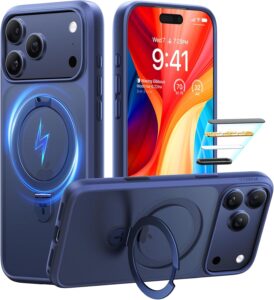
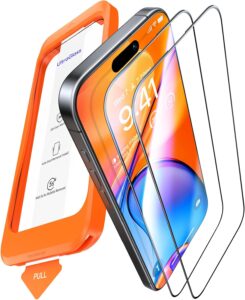
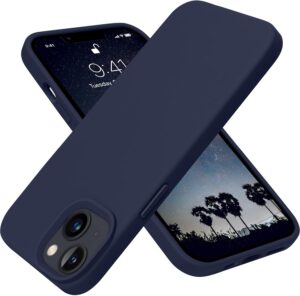
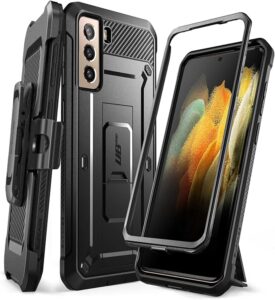
Protective Phone Cases and Sleeves
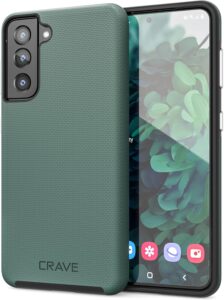
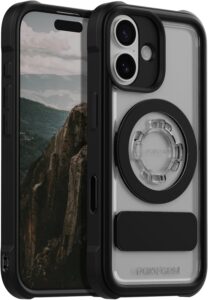
Don’t overlook protection. A cracked phone screen or damaged tablet can ruin a trip. Modern protective cases balance slim profiles with serious drop protection (military-grade MIL-STD-810G certification).
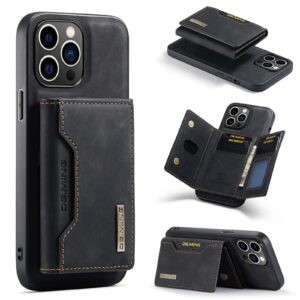
Look for cases with:
- Antimicrobial coatings (phones are germ magnets)
- Integrated kickstands for hands-free viewing
- Card slots for storing hotel keys or transit cards
- Compatibility with wireless charging
For tablets and laptops, padded sleeves with water-resistant exteriors protect against spills and weather while taking up minimal space.
Making Smart Investment Decisions
Here’s the reality: quality travel tech accessories require upfront investment. But consider this: one missed flight connection because your phone died could cost hundreds in rebooking fees. One lost laptop could mean thousands in replacement costs and lost work.
When evaluating mobile accessories for frequent travelers, prioritize:
- Durability: Will it survive being tossed in overhead bins?
- Versatility: Does it solve multiple problems?
- Compatibility: Will it work with your current and future devices?
- Size and weight: Every ounce matters when you’re living out of a carry-on
Read user reviews from actual travelers, not just tech reviewers who test products at home. Real-world travel is messy, unpredictable, and demanding. Your gear needs to handle it all.

Building Your Perfect Travel Tech Kit
You don’t need every accessory mentioned here. Start with the essentials based on your travel style:
Weekend warriors: Universal adapter, power bank, quality earbuds Business travellers: Add wireless charger, portable hotspot, cable organizer Digital nomads: Full kit including tracking devices and protective cases
Remember, the goal isn’t to carry more stuff. It’s to travel smarter with accessories that genuinely enhance your experience and solve real problems.
Technology should enhance your travel adventures, not complicate them. The best mobile accessories for frequent travellers in 2026 share common traits: they’re reliable, versatile, and designed specifically for life on the move.
Whether you’re a road warrior collecting passport stamps or someone who takes a few trips yearly, investing in quality mobile accessories transforms travel from stressful to seamless. Your future self, standing in that airport with a fully charged phone and all your tech working perfectly, will thank you.
What’s in your travel tech arsenal? The right accessories don’t just keep you connected. They keep you moving forward, wherever in the world that takes you.